


DIY Magnets
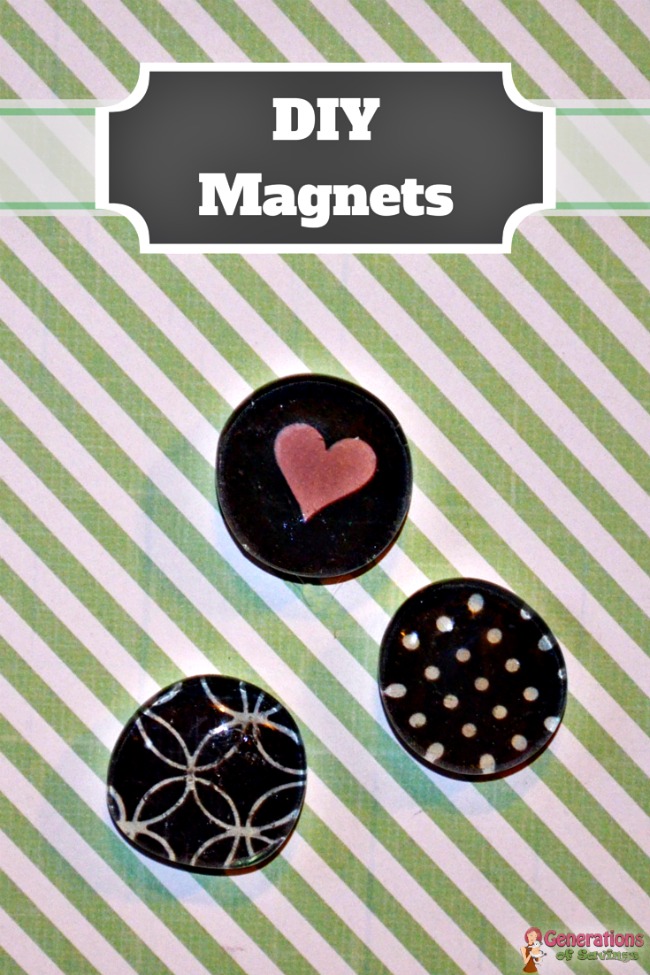
Looking for a fun DIY project to get started on this winter? Break out the Mod Podge and have fun making these DIY Magnets. You can express your creativity by using different prints and patterns to create personalized magnets that will look great in any home.
Supplies:
• Clear Accent Gems (Dollar Store)
• Magnetic Buttons (Walmart)
• Scrapbook Paper
• Mod Podge Gloss
• Foam Brush
• Hot Glue Gun
• Scissors
• Pen or Marker
Instructions:
1. To start your DIY magnets, gather your supplies. You will need the clear accent gems and scrapbook paper first.
2. Set a clear accent gem on top of the scrapbook paper. You will be able to see the scrapbook pattern through the clear glass. Move the gem around until you find a pattern you’d like to use.
3. Trace around the accent gem with your pen or maker. Cut out the shape, cutting slightly inside of the traced line.
4. Next, use the foam brush to apply Mod Podge to the flat side of the accent gem. Press the scrapbook paper into the Mod Podge so that the pattern shows through the accent gem. Apply another layer of Mod Podge over the scrapbook paper.
5. Allow the Mod Podge to dry. Read the directions on the back of the Mod Podge to discover the recommended drying time.
6. As soon as the Mod Podge is dry, you can begin gluing the magnets to the accent gems. To do this, place a pea size drop of hot glue on the back of the accent gem. Quickly press the magnet onto the hot glue and hold until the glue has set.
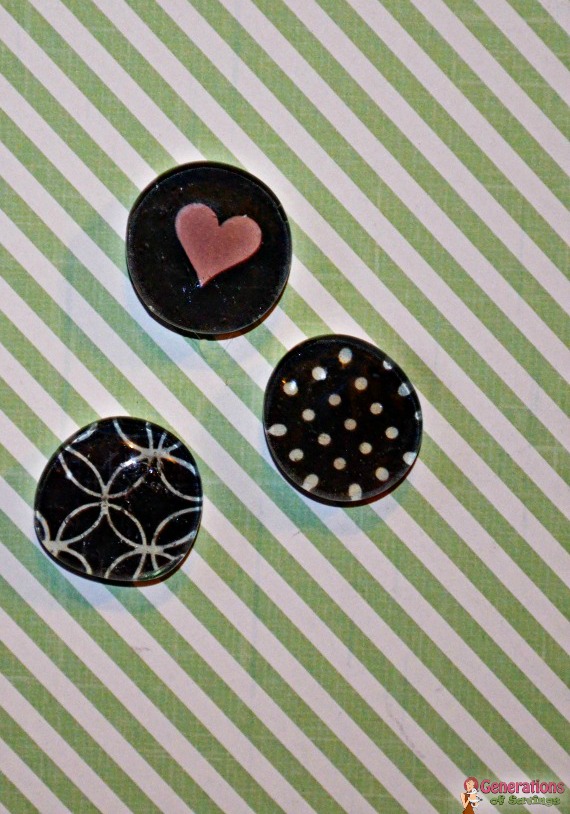
7. Once the hot glue has cooled, you’re ready to use your DIY magnets!
Cutting Tips:
1. Cutting out the scrapbook paper can be a time-consuming process. To expedite this process, cut a strip of scrapbook paper that’s about 1-2 inches thick, depending on the size of your accent gems.
2. Fold this strip of paper accordion style. The folded squares should be large enough to fit one accent gem on top.
3. After folding the paper, place one accent gem on the top fold. Trace around the accent gem with your pen or marker.
4. Cut out the shape, cutting slightly inside of the traced line. Be sure to cut all of the folded squares at once.
One thought on “DIY Magnets -Fun Craft”