


Kids love to scribble on everything. They love being able to be creative and express themselves artistically. As adults, it is great to be able to give them a chance to do this as much as possible! Of course, scribbling on the walls may not be an option, and who wants to go through scratch pad after scratch pad of paper? Instead, take a look at this easy DIY Kid’s Chalkboard Table. With just a few dollars and in just a few hours, you can have a fully functioning chalkboard table up and running for your kiddos to enjoy! And while they will never hear you say it is ok to scribble all over the walls, this will be a piece of furniture you will be happy to allow them to scribble all over. Take a look at how easy this fun and frugal project truly is!
First, you are going to need a few supplies. For the example pictured, I used a small wooden table from a local thrift store. It was around $5.00, and not in the best of shape cosmetically. It had some dings and nicks in it as well as crayon and paint markings on it. No worries. As long as your piece is in solid condition is all that matters. Scour your thrift stores, garage sales, or even your own garage for a small table that would work for this project.
Next, you are going to need some chalkboard paint, which is available in spray or roll on form at your local hardware and craft stores. It costs about $7.00 a can and a little does go a long way.
Ready to get started? Let’s go!
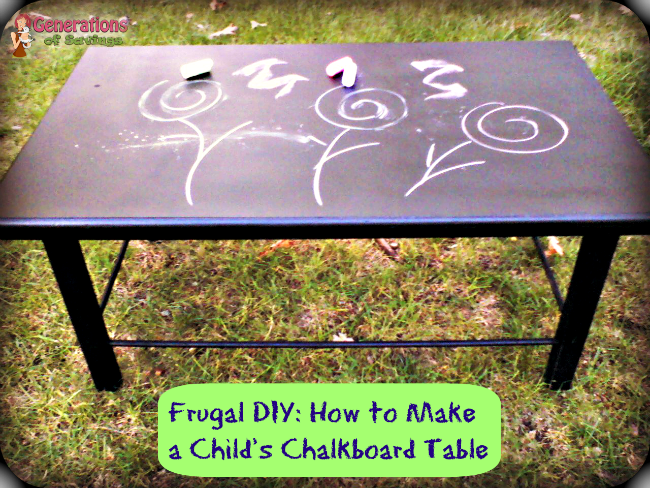
DIY Kid’s Chalkboard Table
Supplies Needed:
Small, solid table. Metal or wood is ideal.
Chalkboard paint
Paint color of your choice (optional)
Chalk
Directions:
1. Take a damp cloth and clean your table surface well, removing any dirt and debris. This will help your paint adhere.
2. Apply a coat of chalkboard paint to the top surface of the table. Allow to dry.
3. While it dries, you may choose to paint the legs another color. This is up to you. In the example shown, I painted the table legs black to create one simple and cohesive look. This choice is yours and whatever you prefer.
4. Apply a second coat of chalkboard paint to the top surface of the table. Allow again to dry.
5. While drying, you can add a second coat of paint to your legs if you decided to add color there.
6. Finally, add one last coat of chalkboard paint to top surface of the table.
You are going to allow your table to dry for at least 24 hours before writing on it. While it may feel dry, the underneath layers can still be soft and if you draw on it, an impression can be left. When 24 hours pass and you are ready to try it out, first break it in by taking the side of the chalk and shading over it, as if you were doing a leaf rubbing on paper. Coating the top with chalk dust will condition it. Then, simply wipe the dust away with a damp cloth.
Once you follow these steps, your table is now ready for use! Grab colorful chalk from your local dollar store and let the kids go wild. You can give them stencils to trace, place tic tac toe, trace hands, or draw landscapes. Whatever they choose, they will be sure to enjoy hours of fun on their new chalkboard table. This table is even fun for doing homework on come fall, when they need to practice math facts or writing spelling words!
Gather your supplies, set aside a few hours, and make one of these fun and frugal chalkboard tables yourself. Not only are they easy to make and so budget friendly, but your kids will think it is the coolest piece of furniture. Ever.
Enjoy!
This is exactly what I plan on doing with the table in my dining room when I get rid of it for another, easier eating design that I have in mind. Since it is already black, I may choose a colored chalkboard paint. Loews is tinting them now, which we learned when we chalk boarded my sons wall in his room.
I love this, and how easy and inexpensive!!! You know kids will love it!